Objects
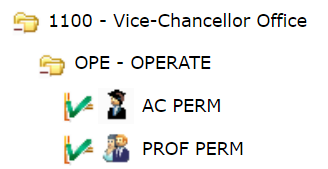
An object is an item in the model that holds values. While structures have icons that look like manila folders, objects have a variety of icons; examples include coins, people, boxes, and so on. In the example below, there are two objects under the structure called "OPE - OPERATE"
You can add an object by clicking on the structure you wish to add it to, and then using the Insert New Object button.
![]()
You can edit an existing object using the Edit Object button. You can also double click on an Object to edit it.
![]()
When editing an object you can add and remove tags after pressing the “add (+)” or "delete(-)" buttons respectively.
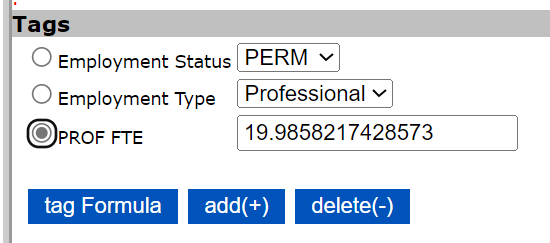
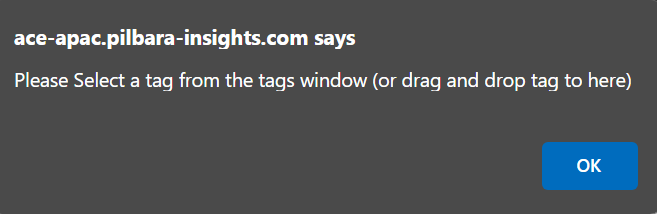
To add a tag, find the required tag in the tags window and press the “add (+)” button. If the "add(+)" button is clicked and the tags window is not already open, a prompt will appear and clicking 'Ok' will make the tags window appear.
You can then either click and drag a desired tag from the tags window to the object editing window, or click on the desired tag and click on "add(+)" again.
To remove a tag select the tag in the objects tag list and press the “delete (-)” button.
There are four checkboxes available in the edit object window.
Hide : will hide the object from wizard logins.
Highlight : will highlight the object in bold.
Disabled: will keep the object but disable it so it can no longer be used for assignments or calculations.
Updated : when someone updates an objects assignments this box get ticked which causes a green tick to appear beside the object itself in the model. It can be manually overridden from here or can be globally reset by the administrator.
Drag and Drop
The drag and drop functionality can be used inside the same window (Assignments or Contributions) to move an object from one structure to another structure.
Dragging and dropping an object from one window to another window e.g. from Assignments to Contributions will Assign the object to the other object or structure in the other window.
While editing an object it can be moved to another structure by browsing to the new structure in the opposing window and then pressing the “Move to” button.
An object (or multiple objects) can also be moved using the Add/Move button.
![]()
This will move the selected objects from the active window to the current structure in the inactive window.
An object can be deleted using the delete object button.
![]()
Object types are defined in the objects tab of the administration section accessed through the admin button.
![]()

Every module has at least one object type.
Extra object types, each with its own image, can be defined for each module.